
Ns3 Installation in Windows
Hey guys! Are you ready to checkout an exciting article about ns3 installation? Let’s give it up a look into this.
Stage: 1
Through this URL, https://my.vmware.com/web/vmware/downloads/#all_products we have to download the VMware 9.0 and Ubuntu 16.04.6.

Additionally, we have to download the 16.04.6 desktop-i386 through the utilization of the below mentioned URL.
https://releases.ubuntu.com/16.04/ubuntu-16.04.6-desktop-i386.iso

Consequently, we have to right click the VMware setup and it is running as the administrative.
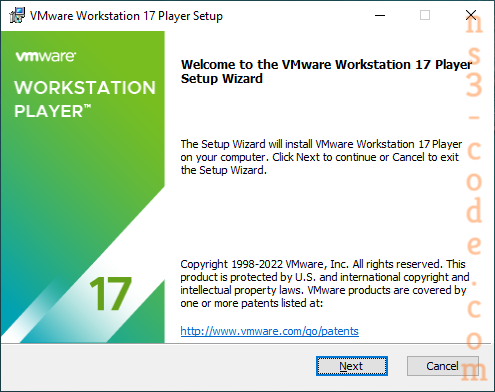
Additionally, we have to install the virtual machine along with the Ubuntu 16.04 LTS with the utilization of the following steps.
- We have to create the new virtual machine just by pressing the typical checkbox and next
- Then, we have to click the installer disk image file through pressing the browse button
Stage: 3
At this point, we have to download the ns-3.31 packages through the URL that is highlighted below.

Stage: 4
Finally, the ns-3.31 packages are installed through changing the location and implementing the following commands in the Ubuntu terminal window.
./waf –build-profile=debug –enable-examples –enable-tests configure
./waf
./test.py
If you are still frightening by yourself in the process of installation then just interact with our research professionals to get rid of this.
 Click Here to watch our latest output video using NS3 simulator
  Click Here to watch our latest projects screenshots using NS3 simulator