
Installing Ns2 on Ubuntu
If you are in search of consistent and appropriate research guidance in Ns2 installation in Ubuntu along with the implementation process, then consider this article as the representation of the process of installing network simulator 2 in Ubuntu.
Supportive Libraries for Installation
Initially, we have to install the supportive libraries of network simulator 2 in Ubuntu through the execution of below mentioned commands.
sudo apt-get install build-essential autoconf automake

sudo apt-get install tcl8.5-dev tk8.5-dev

sudo apt-get install perl xgraph libxt-dev libx11-dev libxmu-dev

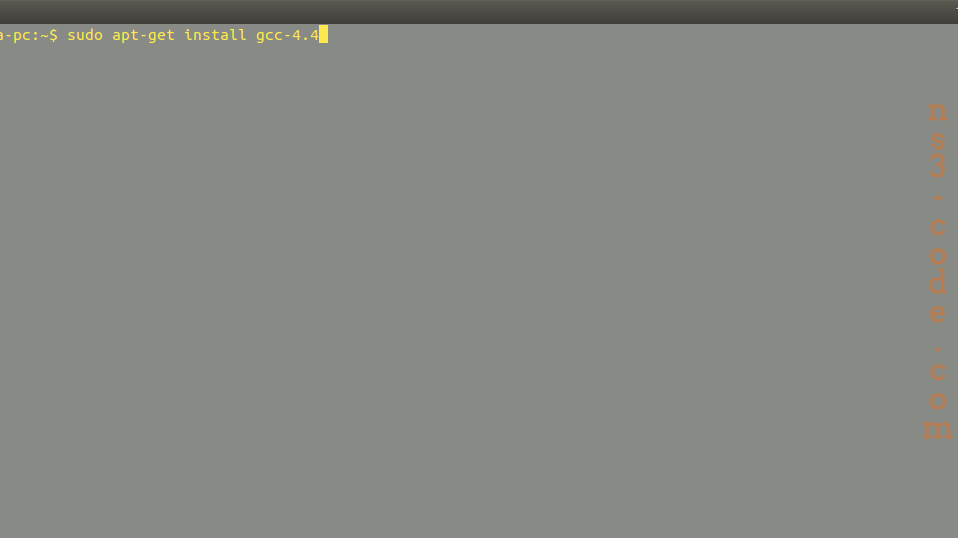
sudo apt-get install gcc-4.4
Ns2 Installation in Ubuntu
Following that, we have to install the network simulator packages and for that we have to download and extract the packages of Ns2 first using the execution of below mentioned commands.
cd ns-allinone-2.35/
sudo ./install

Steps Required Execute the Ns2 Simulation
Subsequently, we have highlighted the notable steps that are required for the installation.
- Mainly, we have to create the workspace and create of main file along with the extension file named as .tcl
- Then, write the code in main file for the node configuration and communication process
- Finally, we have to execute the below mentioned commands in Ns2 simulation
./ns mainfile.tcl
Through this article, you people reach us and team up with our research experts for the best results.
 Click Here to watch our latest output video using NS3 simulator
  Click Here to watch our latest projects screenshots using NS3 simulator